

From fancy dirt to glossy glass.
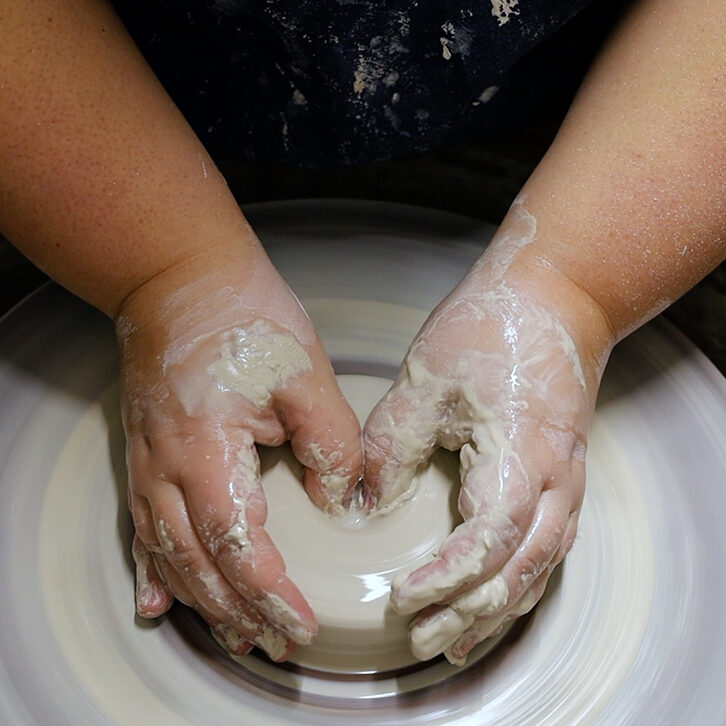
The first step in the pottery process is deciding what a chunk of clay should become. If the clay is smooth and very soft, this means it's mug making time! And if the clay is a bit stiff, it's time for me to go 'bowl'ing
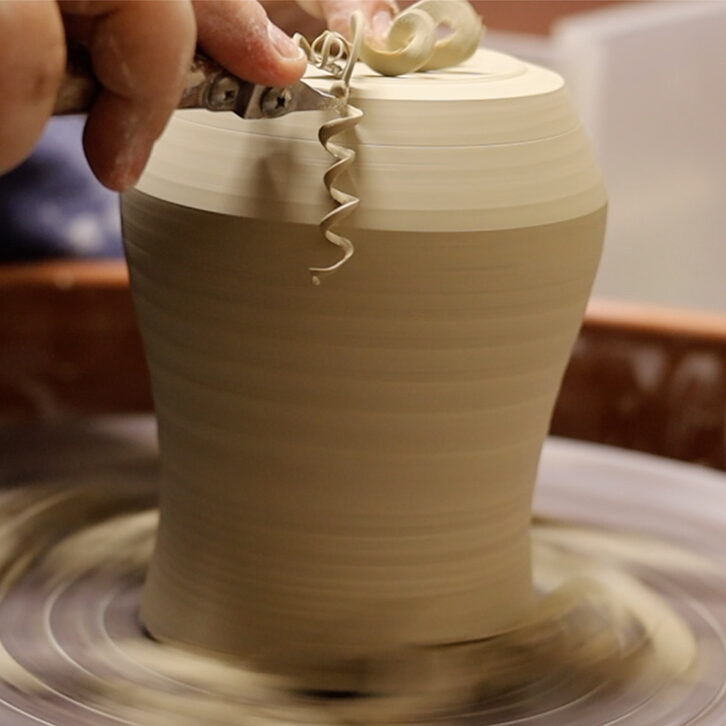
I have an in-house pottery studio where I make each piece on my pottery wheel using warm water. I do recycle my clay water and clay flops so nothing is wasted. Typically it takes at least one night a week to throw on the wheel, another night to trim and refine pieces, like adding handles to mugs, after the clay dries enough to be stiff, then another few days of waiting for the clay to completely dry out.
Once dry, I polish each piece by smoothing edges or erasing any trimming blemishes. This is also the time when I decide if I like the piece or if it's giving off bad vibes and needs to be remade. Any imperfections that do not enhance the piece will not move on to the next phase, the first fire. Pottery is fired twice; the first fire is called the bisque fire, where the clay is dried to a whopping 1800F. At this stage, the clay is no longer fragile dirt but porous ceramic pottery. It can not be molded or modified in any way to correct misshapen rims or handles. If I approve of the piece, then it's time to add color! Aka, glazing time!
I use a variety of glazes, some brand names such as AMACO and Mayco, but I love the glazes from local companies like Queen City Clay-based here in Cincinnati or KY Mudworks-based in Lexington KY. I also started developing my own glaze recipes to add more of a personal touch... because clearly, I haven't touched the pottery enough ha! Since the clay is porous, water in the glaze will be absorbed and allow the colorant and silica (glass) to stick to the surface. Each piece is loaded into the kiln for the second and final firing, up to 2200F!!!
Now, no longer fancy dirt, each piece emerges from the kiln as beautiful glossy glassy pottery!
To see this in action, check out my YouTube channel for videos!

